Ecommerce Templates How To Install Zen Cart Template
How To Install Zen Cart Template
This article describes step-by-step installation of a new Zen cart template downloaded from 12leaves.com via hosting Cpanel. The installation instructions via FTP client you can find in our blog there.
To install a new theme you should:
- Backup all the files and database of your site.
-
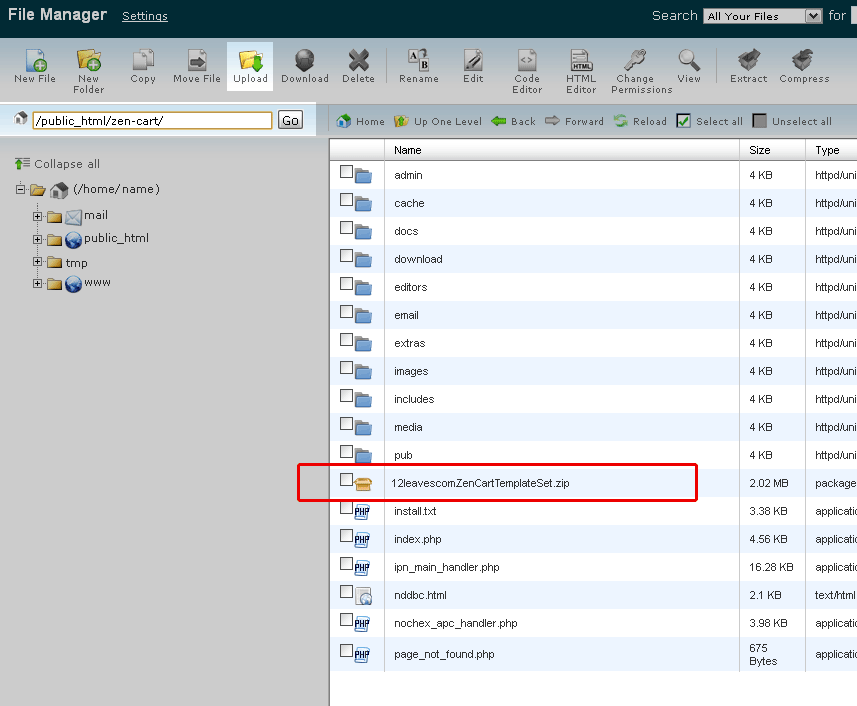
Upload the Template package (zip file) to the root directory of your Zen Cart installation (for example: www.yourdomain.com/yourzencartstore/).
You can use any FTP client or your site cPanel to upload the Template package. Below is shown the correct location of the 12leaves.com Zen Cart Template Package in the cPanel File Manager.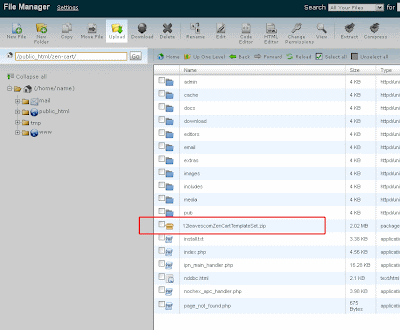
- Unpack the template package.
- Delete the template package zip file.
- Log in to the admin area.
- Go to the "Tools -> Template Selection".
- Click on the "Classic Contemporary Green" template name.
- Select the Template Name you downloaded for the selectbox on the right and click on the "Update" button.
- Go to the "Tools -> Layout Boxes Controller".
- Click on the "Reset" button on the bottom.
- Enjoy.
Note: In case you have already renamed the 'admin' folder of your Zen Cart, you should upload the files from the 'admin' folder of the template package to your renamed admin folder manually. It is necessary for one-click template configuration feature (allows to get the template appearance as on demo site by one click).
You can configure the template via "Tools->Layout Boxes Controller" and "Configuration->Layout settings" sections in the admin area of your Zen Cart.
Video Tutorial of Zen Cart Theme Installing via Control Panel of Hosting
